
Using Amazon CodeCatalyst Blueprints to Build and Deploy a Video-On-Demand Application to AWS
September 27, 2023In this blog post, we will walk you through how to create and launch new projects in minutes using Amazon CodeCatalyst Blueprints. Blueprints automatically generate source code and a continuous integration and delivery (CI/CD) pipeline to deploy common patterns to your AWS account without requiring extensive programming knowledge. This functionality boosts productivity and lowers time to market for features. To illustrate how to use blueprints, we will walk through how to deploy a video-on-demand web service to your AWS account.
What is Amazon CodeCatalyst? It is an integrated DevOps service for software development teams adopting continuous integration and deployment practices into their software development process. CodeCatalyst provides one place where you can plan work, collaborate on code, and build, test, and deploy applications with continuous integration and continuous delivery (CI/CD) tools. You can easily integrate AWS resources with your projects by connecting your AWS accounts to your CodeCatalyst space. With all of these stages and aspects of an application’s lifecycle in one tool, you can deliver software quickly and confidently.
Prerequisites
To get started with Amazon CodeCatalyst, you need the following prerequisites. Please review them and ensure you have completed all steps before proceeding:
- Create an AWS Builder ID. An AWS Builder ID is a new personal profile for everyone who builds on AWS. It is used to access tools and services within AWS, such as Amazon CodeCatalyst.
- Join an Amazon CodeCatalyst space. To join a space, you will need to either:
- Create an Amazon CodeCatalyst space. If you are creating the space, you will need to specify an AWS account ID for billing and provisioning of resources. If you have not created an AWS account, follow the AWS documentation to create one.
- Accept an invitation to an existing space.
- Create an AWS Identity and Access Management (IAM) role. Amazon CodeCatalyst will need an IAM role to have permissions to deploy the infrastructure to your AWS account. Follow the documentation for steps how to create an IAM role via the Amazon CodeCatalyst console.
Create the Amazon CodeCatalyst Project
Once all of the prerequisites have been met, you can log in to your Amazon CodeCatalyst space and create a project. Once you are logged in, navigate to your projects and select “Create project” (Figure 1).
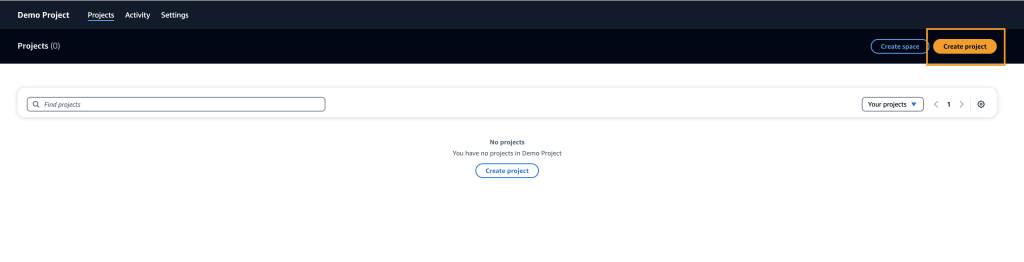
Figure 1: Project screen with create project button selected
Select Start with a blueprint option and enter into the Choose a blueprint input box, “Video”. Select the Video-on-demand web service blueprint. Choosing this blueprint will open a side panel describing what the blueprint provides and an architecture diagram (Figure 2).
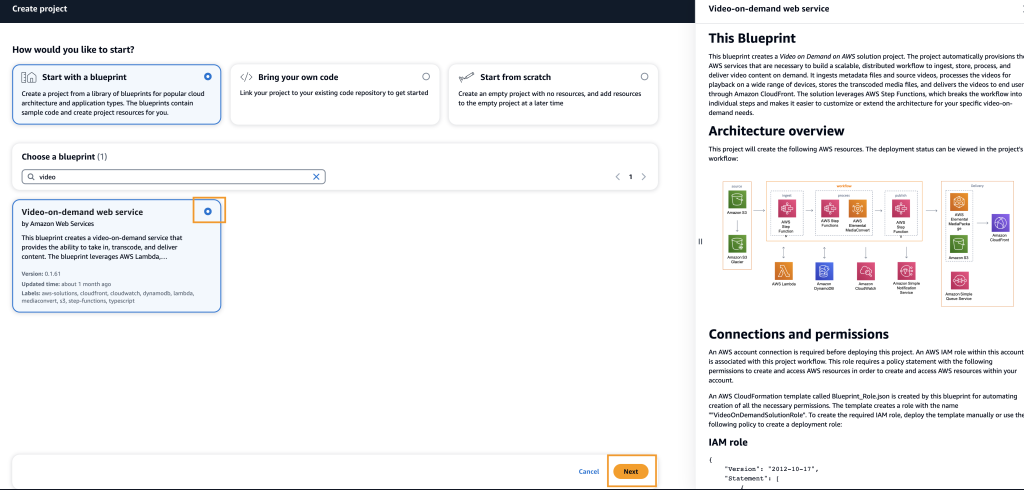
Figure 2: Create project screen with video-on-demand project selected
After selecting Next, you will be prompted for a project name, an AWS account ID and an IAM role to be associated with the project. Project names must be unique within your space and must be within 3-63 characters. See the official documentation for project naming requirements for more information.
Your AWS account ID and IAM role that you created as part of prerequisites should be automatically populated for you (Figure 3). If they are not present, you need to ensure you have properly linked the account and created the IAM role.
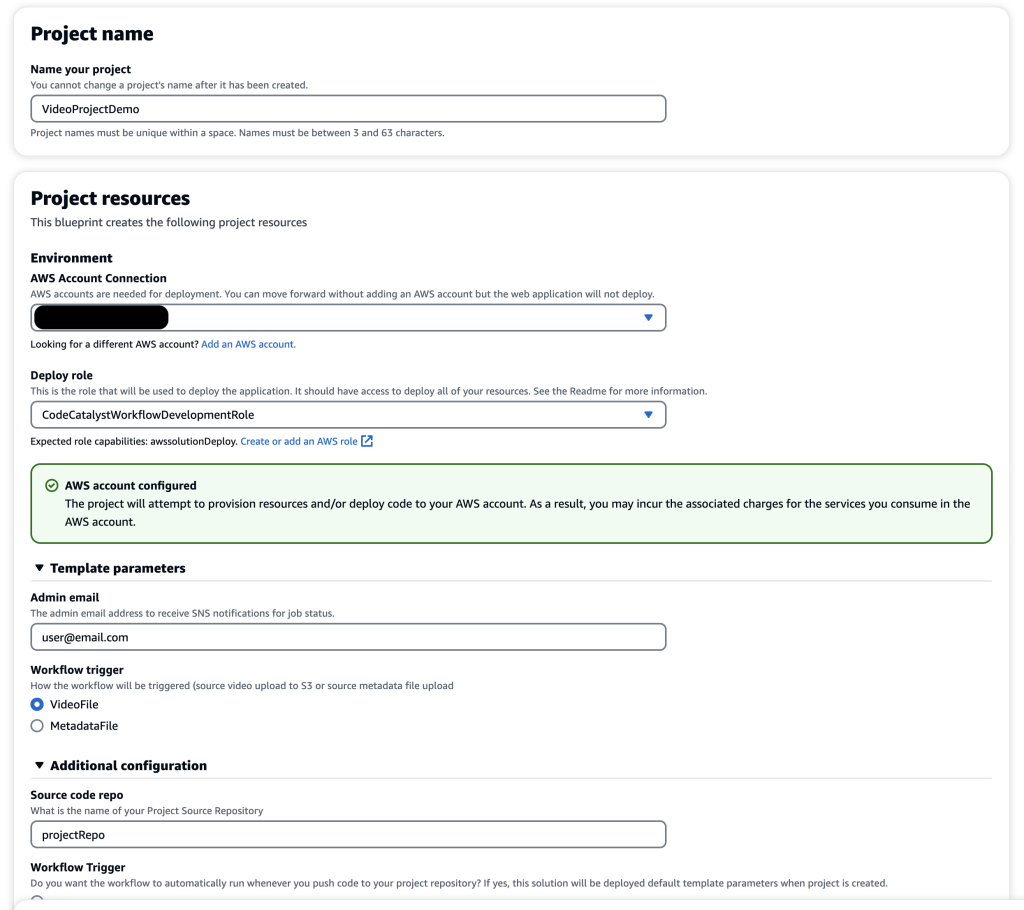
Figure 3: Project configurations listed. Linked AWS account ID and IAM role present
For this specific blueprint, there are more configuration options listed below such as: code repository name, automatic triggers of pipeline, CloudFormation stack name, deployment region and more (Figure 4). Leave all fields under Template parameters, Additional configuration, Deployment Location, and S3 Bucket for AWS CloudFormation Template as their default values.
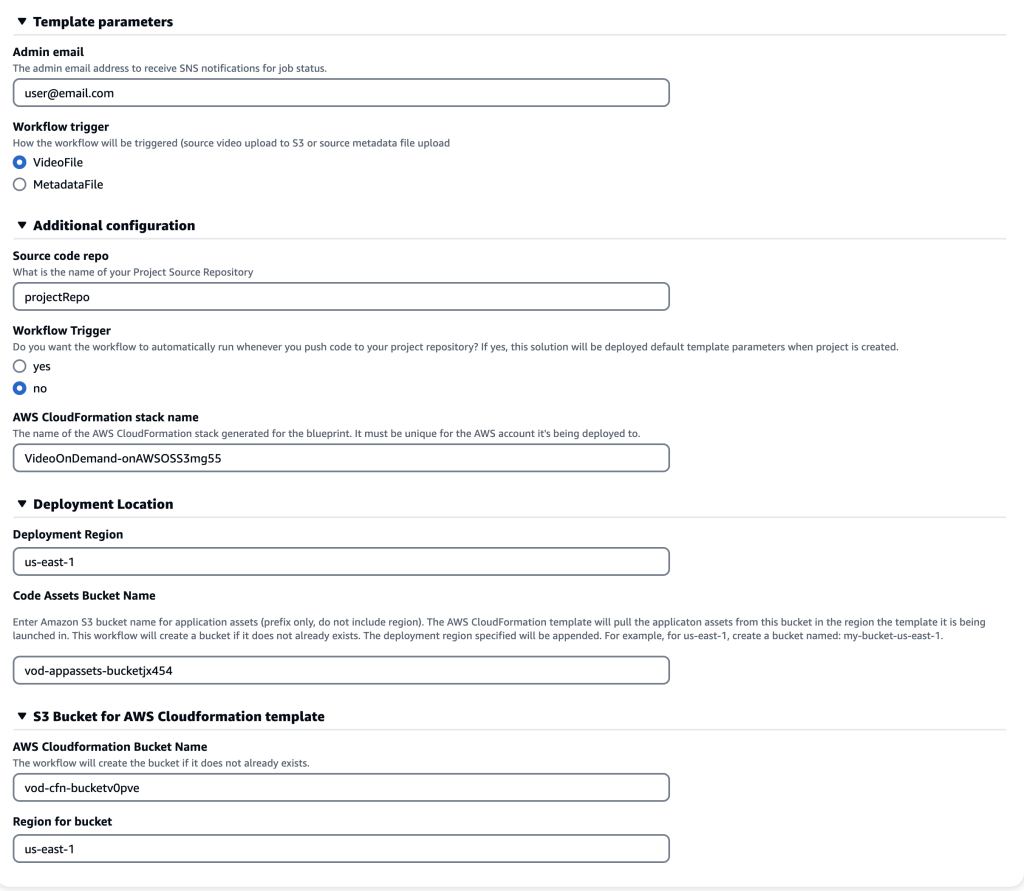
Figure 4: Additional project configurations. Leaving default is fine
Once you have finished editing the configuration, choose Create project in the lower right corner. Amazon CodeCatalyst generates your project space and repository.
Walkthrough of the Project Space
Your new code repository is the first item on the overview dashboard. Select View Repository or Source Repositories (Figure 5) to navigate to the code repository for this project. If the repository details are not present on the overview page, wait for approximately 10-15 seconds and refresh the page.
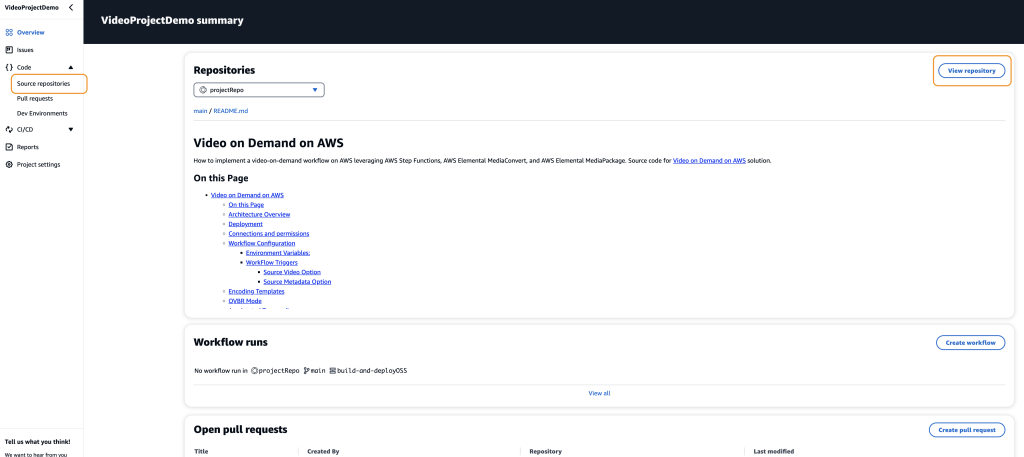
Figure 5: Project overview screen with view repository and source repositories selected
This blueprint provides you with a functioning video-on-demand solution; however, you can modify the code for your specific use case. Blueprints are a template and give users the freedom to add custom business logic.
Adding IAM Permissions
You should have created an IAM role for Amazon CodeCatalyst workflow to use during the prerequisites section. If you have not, please refer to the prerequisites section.
This specific solution provides an IAM Policy that you can attach to your IAM role such that sufficient IAM permissions are present to deploy the solution to your AWS account. The IAM Policy is within the README.md file. Within README.md, under the connections and permissions section, copy the IAM policy and create a new policy via the AWS console. Make sure to attach this IAM policy to your existing IAM role.
CI/CD Workflows
Start the CI/CD process to deploy the video-on-demand solution to your AWS account. Choose View all from the Overview page. This can also be found by selecting CI/CD from the side menu (Figure 6).
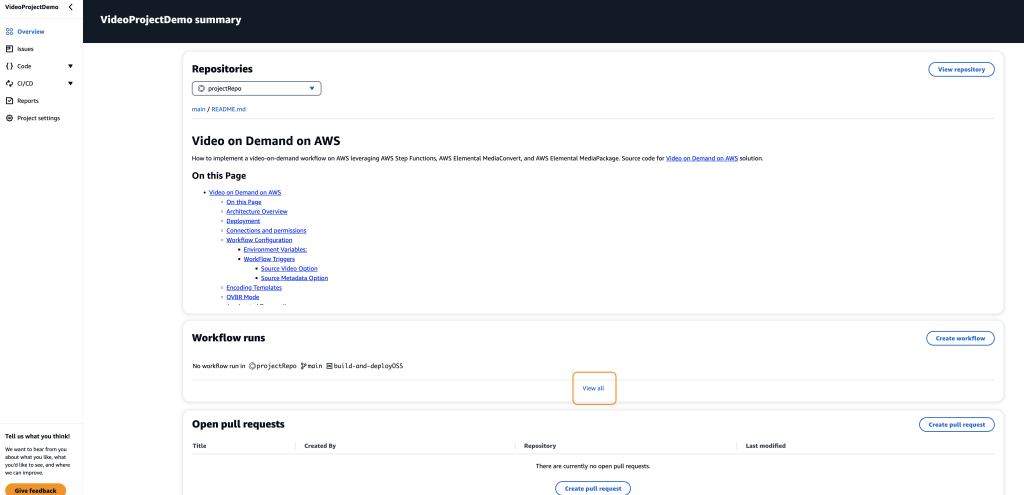
Figure 6: Overview page with View All button selected
This blueprint comes with one, default workflow called build-and-deployOSS. To build and deploy this application to your AWS account, choose Run on the workflow page (Figure 7).
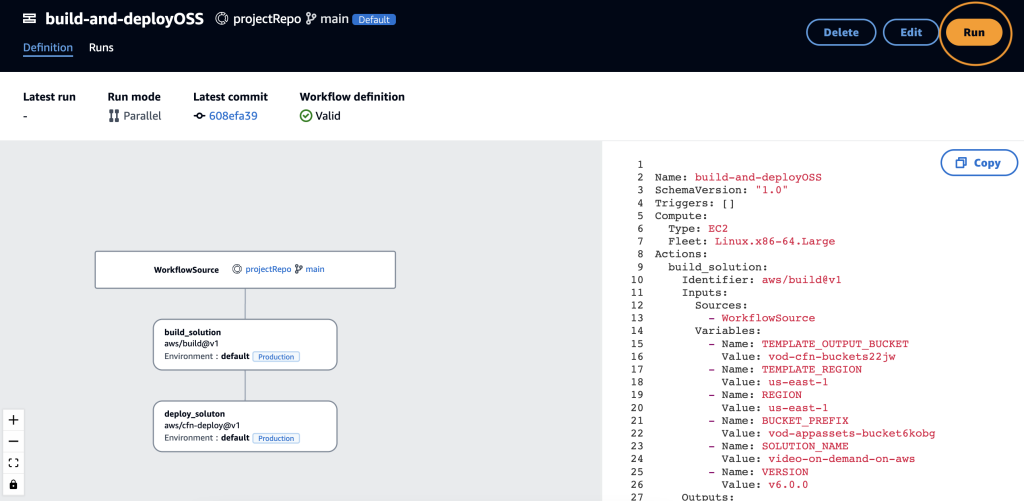
Figure 7: build-and-deployOSS workflow with Run button selected
Select the Runs tab or the RunID from the dialog box to view the status of the deployment (Figure 8). This pipeline is building and deploying the full application and will need approximately 10 minutes to run.
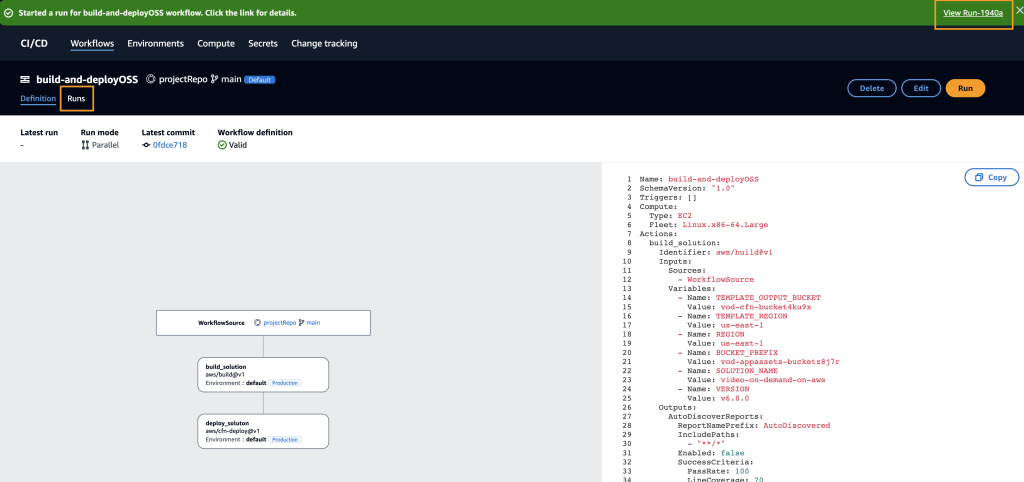
Figure 8: build-and-deployOSS workflow with the RunID and Runs tab selected
Configure a custom workflow
You can configure custom pipelines within CodeCatalyst. To do this, navigate to the Workflows page within Amazon CodeCatalyst and select Create Workflow (Figure 9).
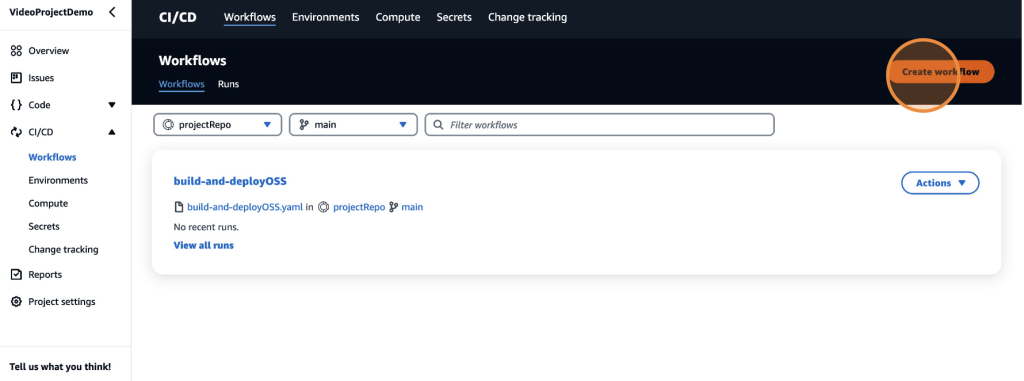
Figure 9: Create a custom workflow
Amazon CodeCatalyst offers a variety of drag and drop solutions to building pipelines using YAML and CloudFormation. For more information on configuring custom workflows within Amazon CodeCatalyst, view the getting started with custom workflows documentation.
Check in on your Workflow
After approximately 10 minutes, the build-and-deployOSS should be complete! The status of the run is listed under Run History (Figure 10).
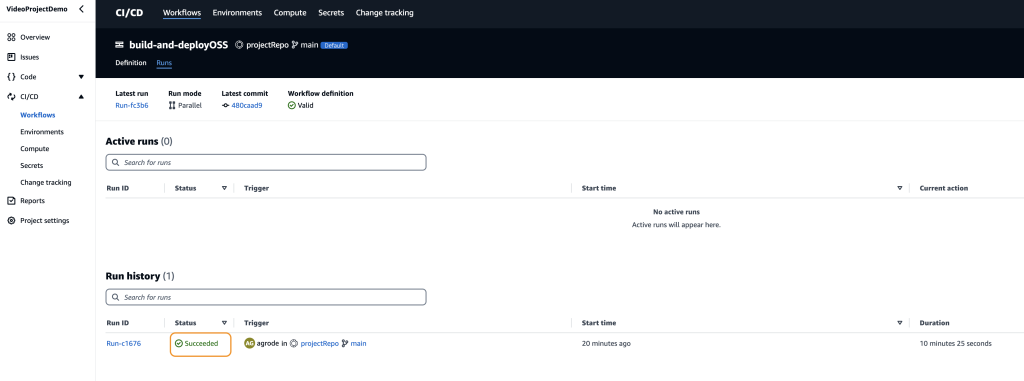
Figure 10: Run history with the job status highlighted
To validate a successful deployment of the blueprint, login to the AWS Console and navigate to the CloudFormation service. If the status is listed as UPDATE_COMPLETE, then the blueprint has been deployed successfully!
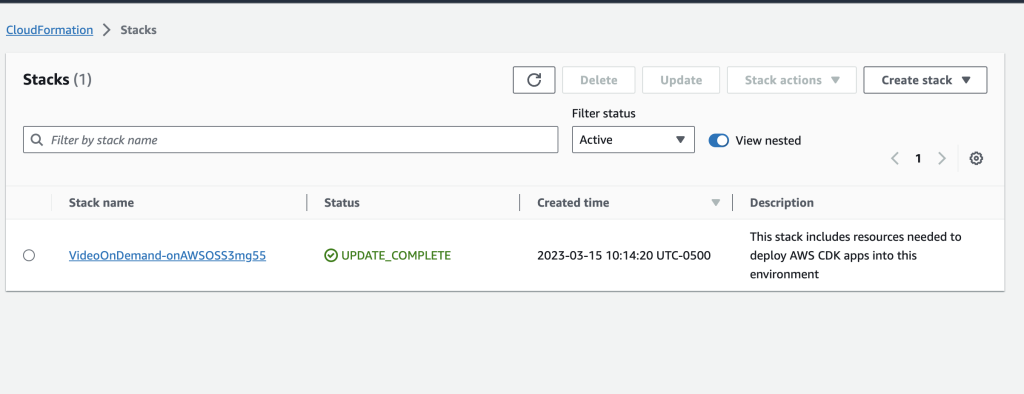
Figure 11: AWS Console showing CloudFormation template successful run
Clean up Your Environment
To avoid incurring future charges, delete the infrastructure provisioned by the Amazon CodeCatalyst workflow. This can be done by deleting the CloudFormation stack. To do this, login to your AWS account and select the CloudFormation service. Select the stack with VideoOnDemand in the title and select the delete button. This will delete the entire stack.
Conclusion
While reading this blog, you learned how to use Amazon CodeCatalyst blueprints by deploying a video-on-demand web service to your AWS account. You used the automatically generated source code and a CI/CD pipeline to deploy the solution in minutes. Now, that you are more familiar with Amazon CodeCatalyst blueprints, you can use it to deliver software quickly and confidently.
To share any feedback on your experience with Amazon CodeCatalyst, please visit the Amazon CodeCatalyst feedback page.
